- Prerequisites: Azure Account
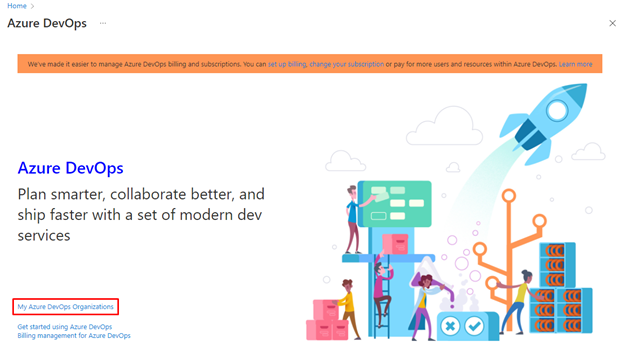
- Using the same browser session, go to Microsoft Azure, then search at the top of the portal screen for Azure DevOps. In the resulting page, click Azure DevOps organizations.
- Next, click on the link labelled My Azure DevOps Organizations or navigate directly to My Information.
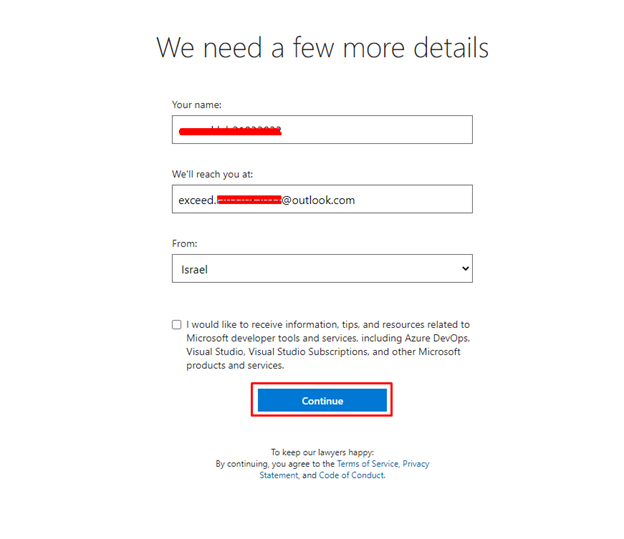
On the We need a few more details page, select Continue.
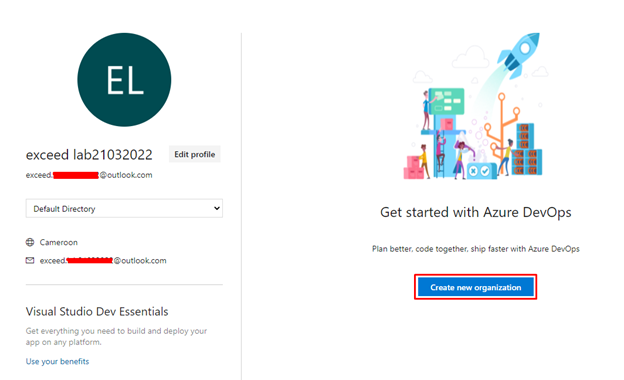
In the drop-down box on the left, choose Default Directory, instead of “Microsoft Account”.
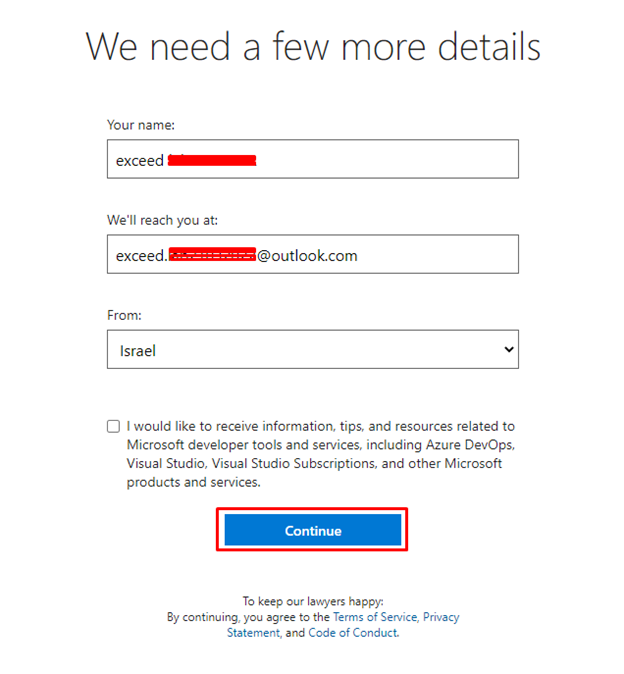
- If prompted (“We need a few more details”), provide your name, e-mail address, and location and click Continue.
- Back at My Information with Default Directory selected click the blue button Create new organization.
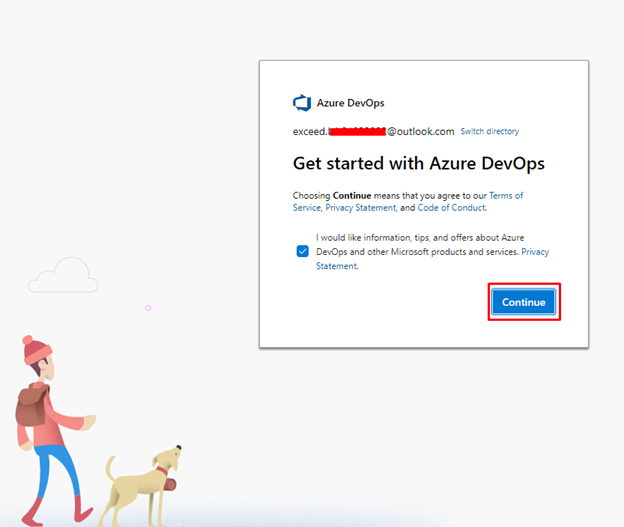
Accept the Terms of Service by clicking Continue.
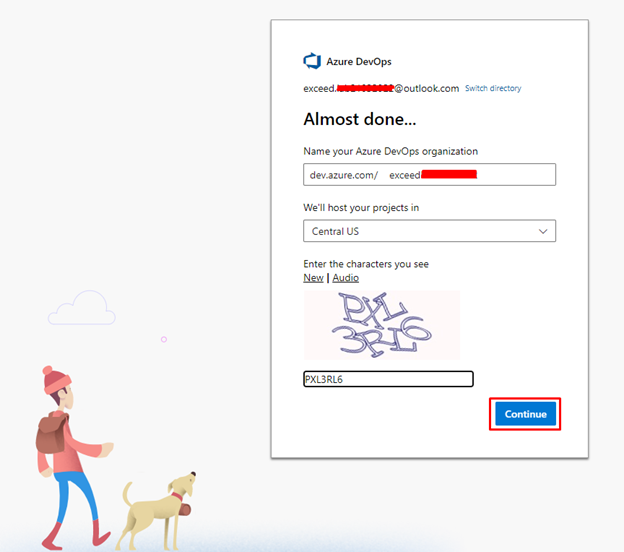
If prompted (“Almost done”), leave the name for the Azure DevOps organization at default (it needs to be a globally unique name) and pick a hosting location close to you from the list.
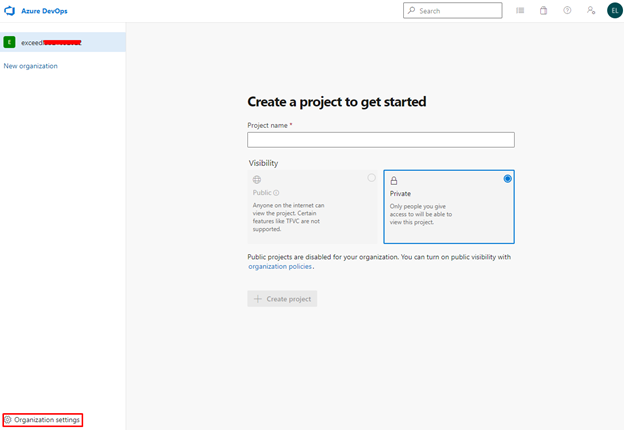
Once the newly created organization opens in Azure DevOps, click Organization settings in the bottom left corner.
At the Organization settings screen click Billing (opening this screen takes a few seconds).
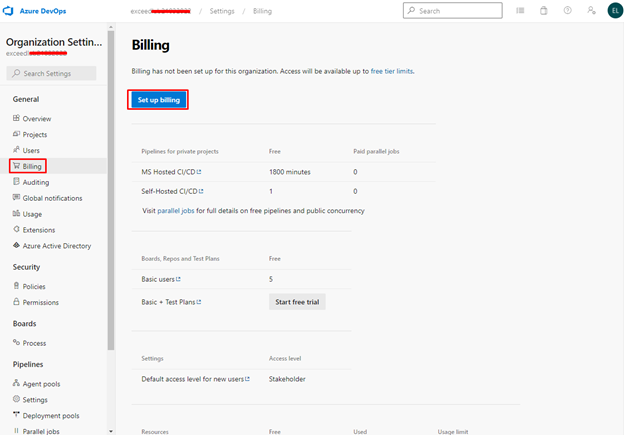
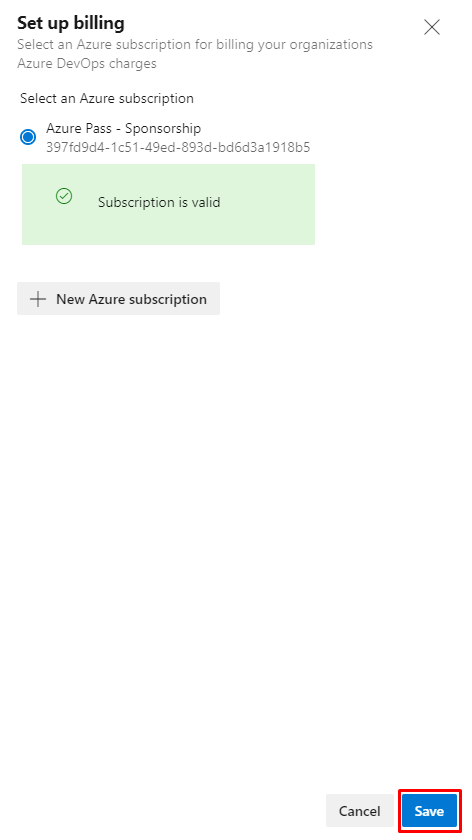
Click Setup billing and on the right-hand side of the screen select the Azure Pass – Sponsorship subscription and click Save to link the subscription with the organization.
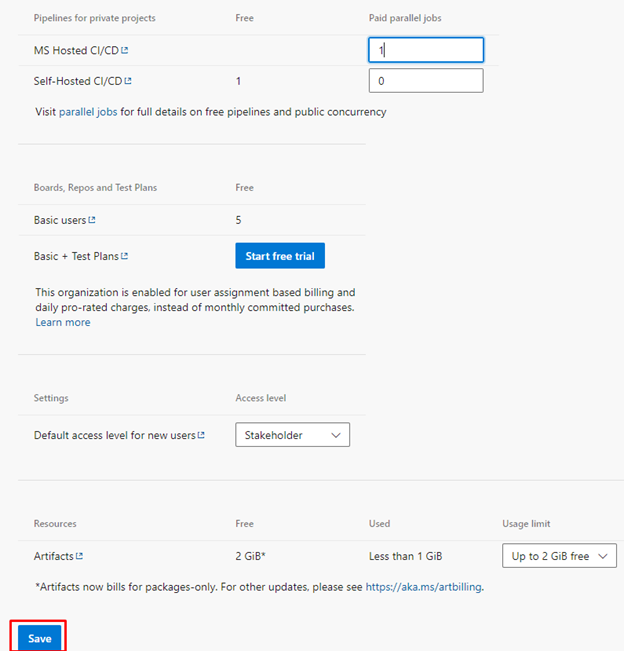
Once the screen shows the linked Azure Subscription ID at the top, change the number of Paid parallel jobs for MS Hosted CI/CD from 0 to 1. Then click the SAVE button at the bottom.
- Wait at least 3 hours before using the CI/CD capabilities so that the new settings are reflected in the back end. Otherwise, you will still see the message “This agent is not running because you have reached the maximum number of requests…”.
- In Organization Settings, go to Security -> Policies
- Turn on “Third-party application access via OAuth”
Note: The OAuth setting helps enable tools such as the DemoDevOpsGenerator to register extensions. Without this, several labs may fail due to a lack of the required extensions.
- Turn on “Allow public projects”

Note: The public projects setting will allow some of the labs to use the free version of some extensions.
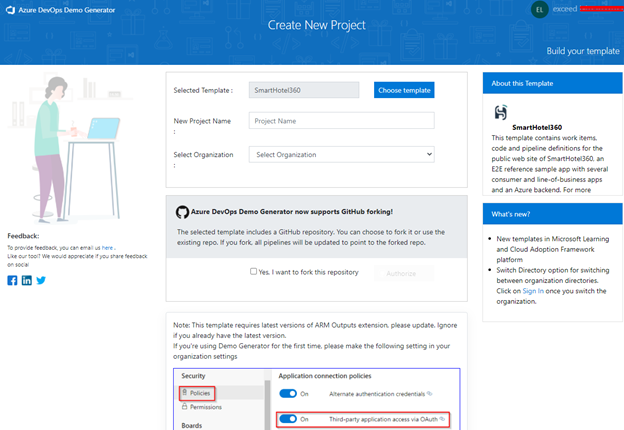
- OPTIONAL: you can validate this new setting has been successfully applied by creating and triggering a build pipeline. To do this either talk to the instructor or create a demo project into the newly created organization with billing enabled, using Azure DevOps Demo Generator.
Setting Up and Running Functional Tests with Azure DevOps - exceedthecloud.com
[…] If you don’t already have an Azure DevOps organization that you can use for this lab, create one by following the instructions available at Create an organization or project collection. […]