EC2 Image Builder is a fully managed service that makes it easy to build, customize and deploy OS images without writing scripts.
The image pipeline in Image Builder defines all aspects of the process to customize images. It consists of the image recipe, infrastructure configuration, distribution, and test settings.
Prerequisite: Having a valid AWS Account (Follow the step in this link to create an AWS Account) How to Sign Up for a new Amazon Web Services Account
Open the page: https://aws.amazon.com/account/
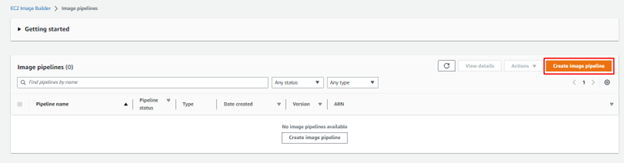
Type and select EC2 image builder in the search box

Click on Create image pipeline
Enter the name of your pipeline / Choose manual for this lab / Click on Next

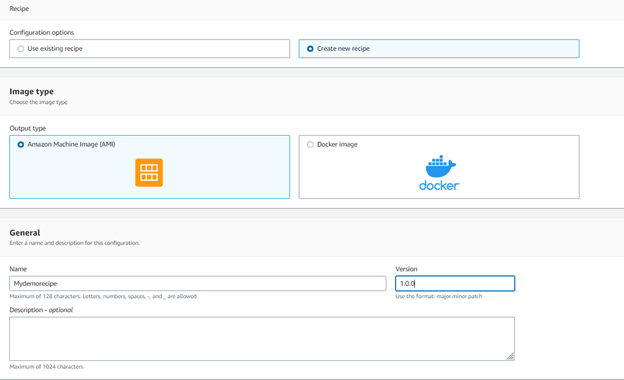
Select Create new recipe to define the components to be applied to the base images
Enter the name and version of the recipe
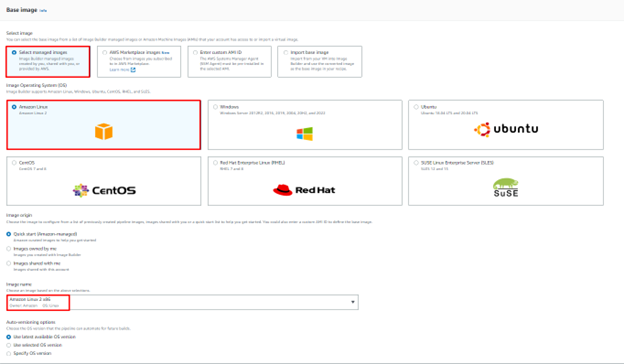
Select the base image to be deployed
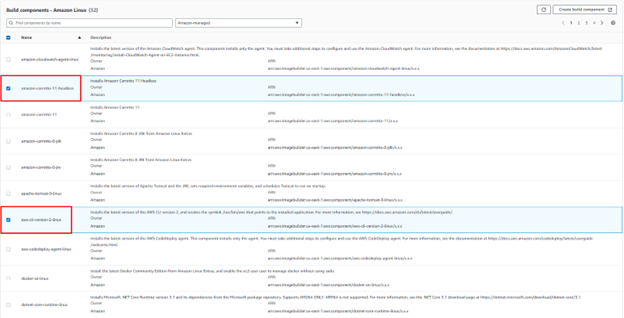
Select the desired components you want to add to your base image
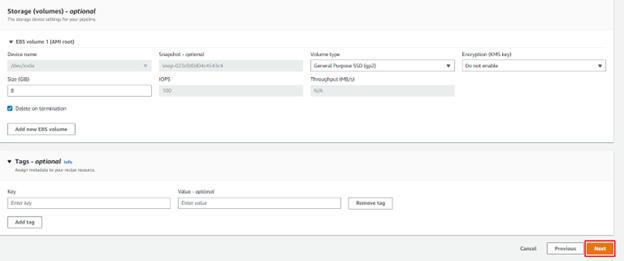
Add the storage volume (EBS volume) / Click on Next
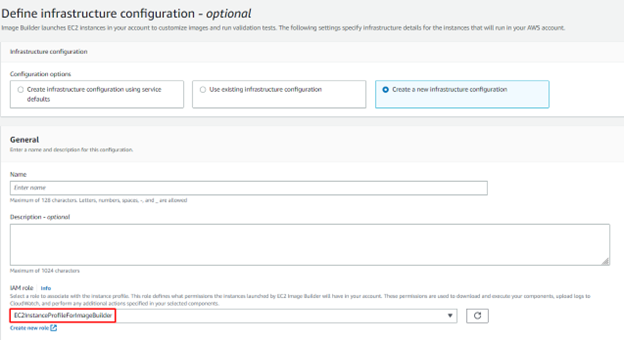
Define infrastructure configuration / Create a new infrastructure configuration / Create a new role

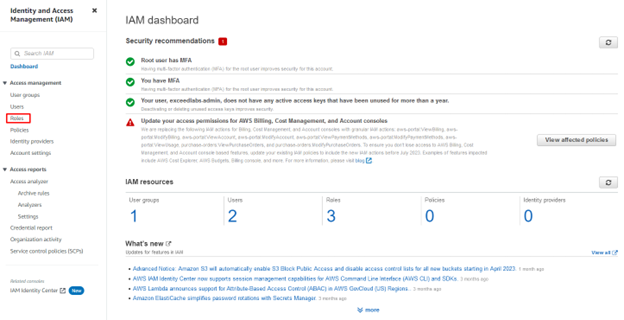
Click on Roles to open the IAM dashboad and create the roles needed for this task
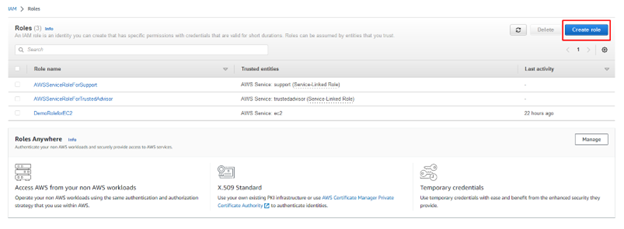
Click on Create role
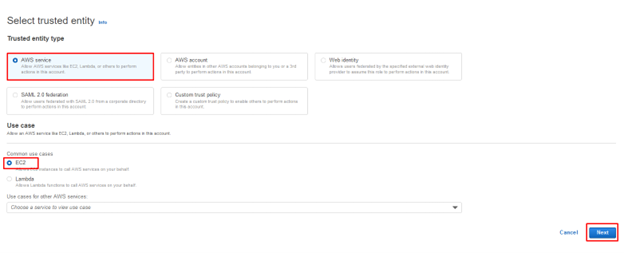
Select AWS service / EC2 / Click Next
Select the 3 policies (EC2InstanceProfileForImageBuilder ; EC2InstanceProfileForImageBuilderECRContainerBuilds ; AmazonSSMManagedInstanceCore)
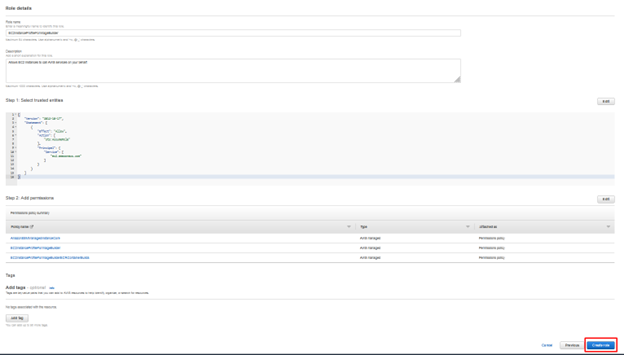
Enter the Role name and click on Create role
Go back and select the new IAM role created
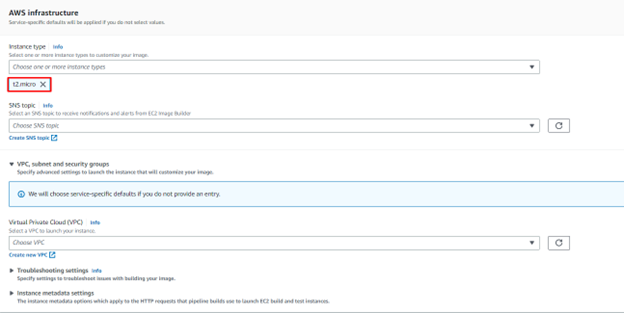
Select the instance type (t2.micro) for free tier offer / Click on Next
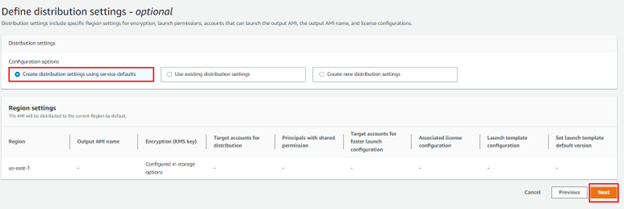
Define the distribution region settings
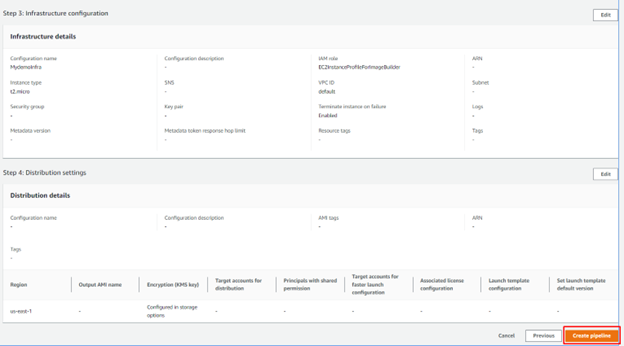
Validate the creation of your new pipeline
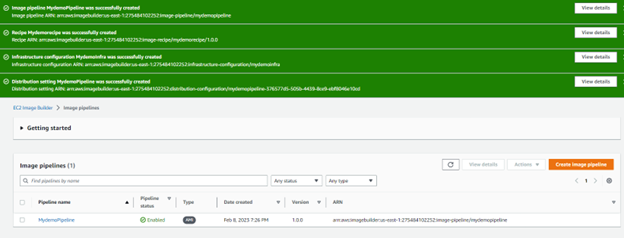
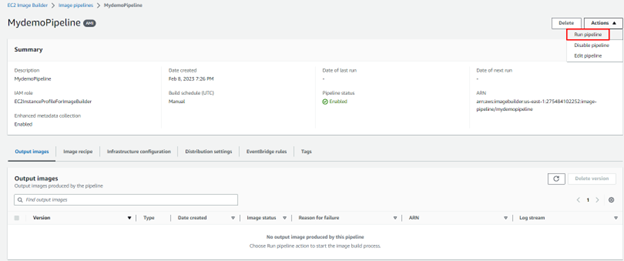
Select the new pipeline and Run the pipeline
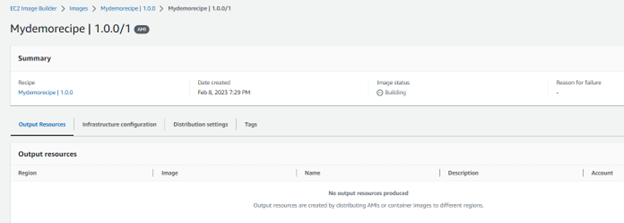
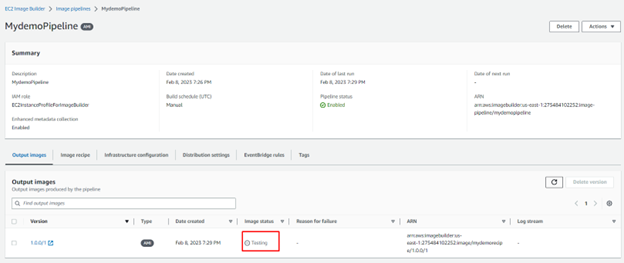
Confirm the recipe is in building status
Go to EC2 instance and confirm the EC2 instance creation

In the testing phase
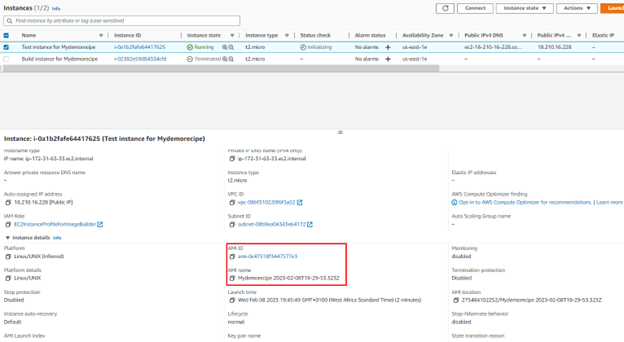
Build instance terminated and Test instance running

Confirm the Test instance is build from the new AMI
Integrating phase
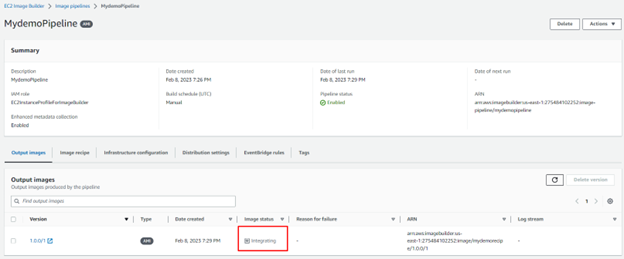
Image distributing phase in the remote region

Image available in the remote region
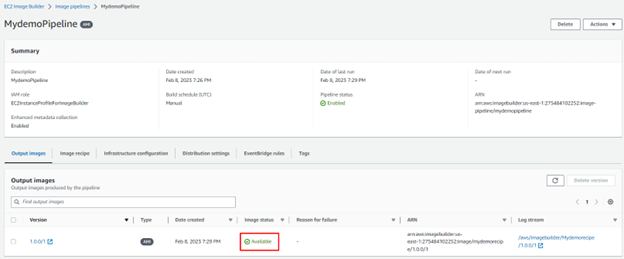
Test Instance terminated

We can now test the new AMI
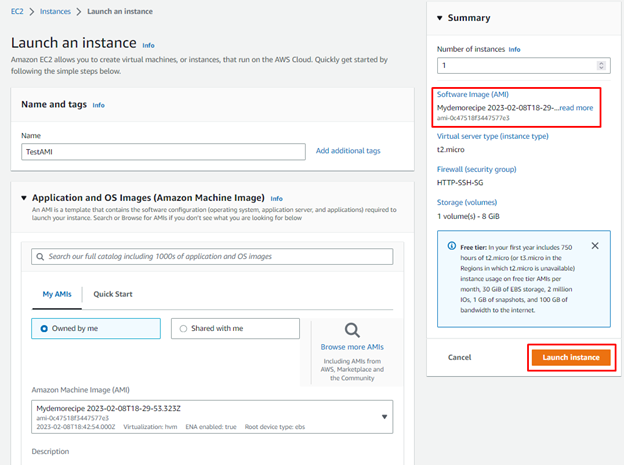
Launch instances
Enter the name of the Instance / Select MyAMIs / Select Security group and storage / Click Launch instance
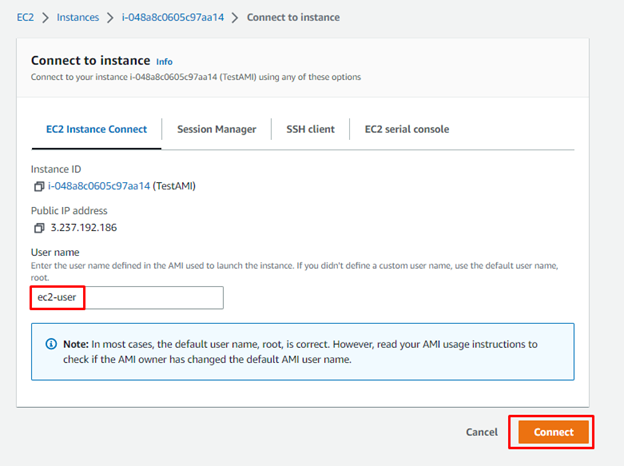
Connect to the instance and validate the presence of desired components
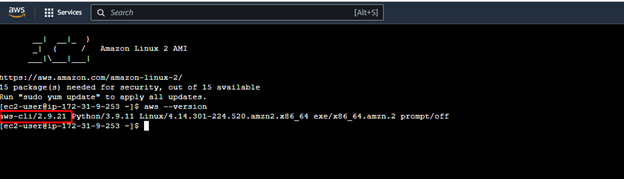
Confirm the version of aws-cli
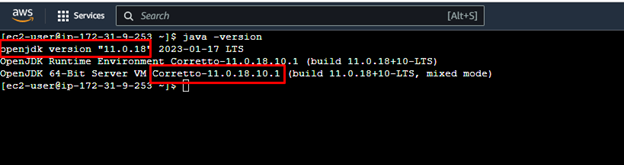
Confirm java version
Clean up the lab resources
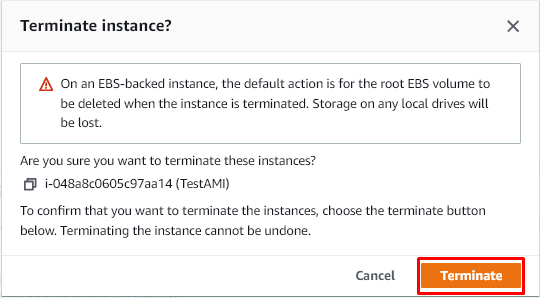
Terminate all EC2 instances

Click on Terminate
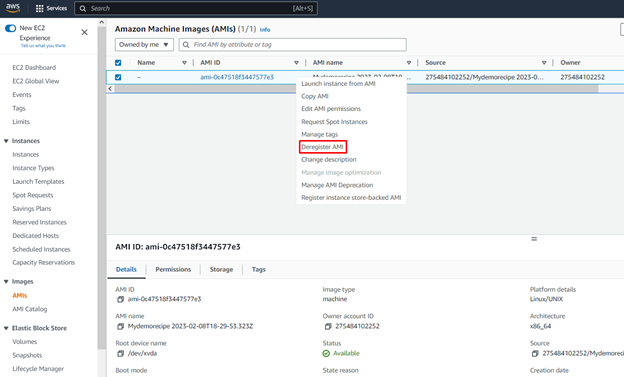
Go to AMIs / Deregister AMI
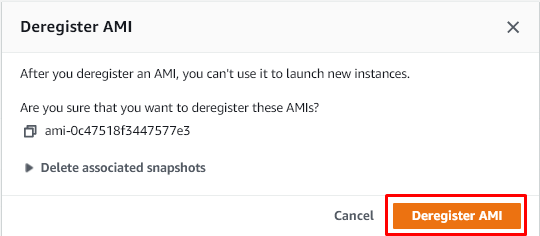
Confirm Deregister AMI
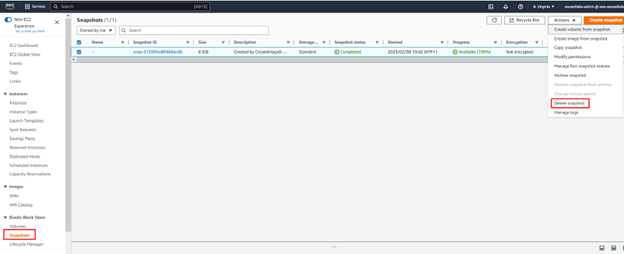
Go to Snapshoot / Select and delete Snapshot
Credit: Stephane Maarek
Leave a Reply