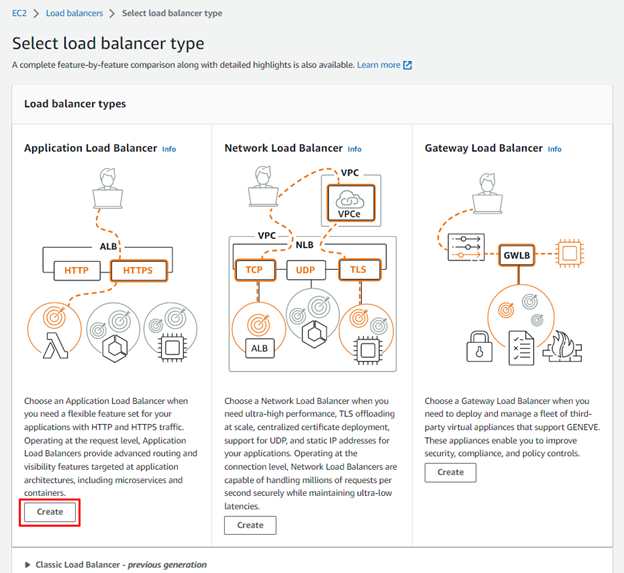
Choose an Application Load Balancer when you need a flexible feature set for your applications with HTTP and HTTPS traffic. Operating at the request level, Application Load Balancers provide advanced routing and visibility features targeted at application architectures, including microservices and containers.
Prerequisite: Having a valid AWS Account (Follow the step in this link to create an AWS Account) How to Sign Up for a new Amazon Web Services Account
Open the page: https://aws.amazon.com/account/
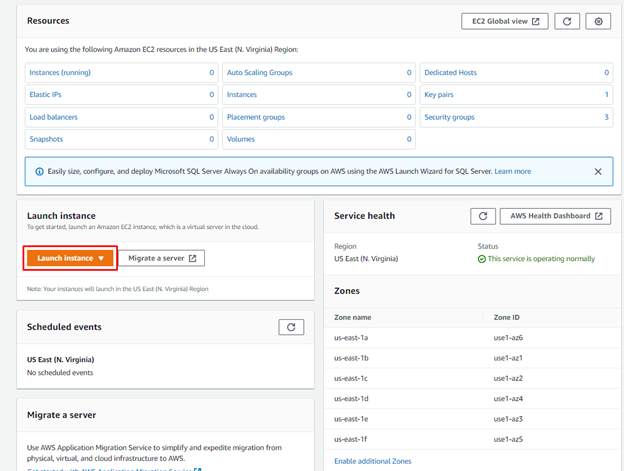
To complete this lab, create two EC2 instances in different Availability zone
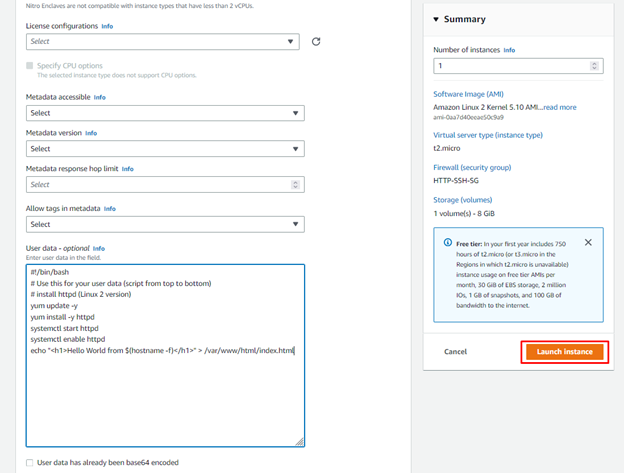
Launch instance with User data to update and configure service httpd
Find bellow the content of User data
#!/bin/bash
# Use this for your user data (script from top to bottom)
# install httpd (Linux 2 version)
yum update -y
yum install -y httpd
systemctl start httpd
systemctl enable httpd
echo "<h1>Hello World from $(hostname -f)</h1>" > /var/www/html/index.html
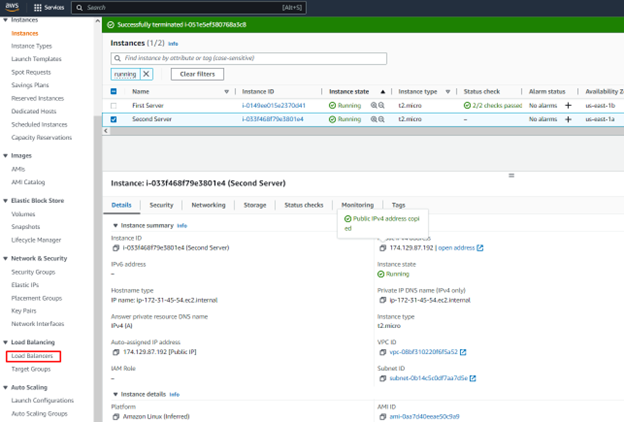
Confirm the creation of the 2 instances

First server instance

Second server instance
Create an application load balancer
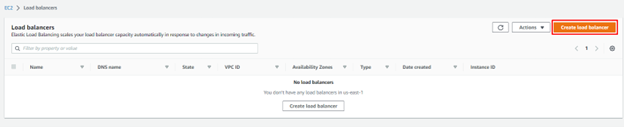
Click in the menu – Load Balancers
Click on create load balancer
Choose Application Load balancer / Click on Create
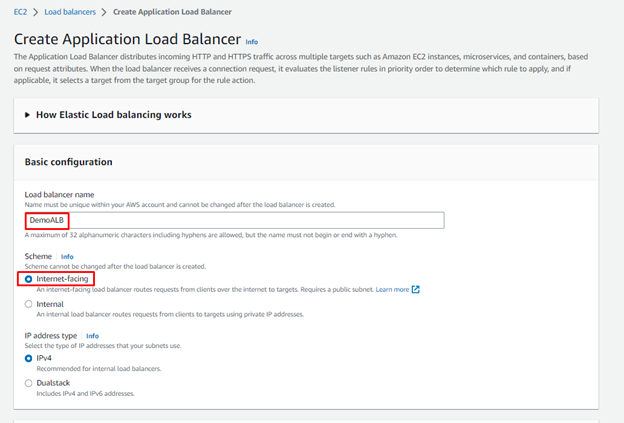
Enter the name of the Load Balancer / Choose Internet facing
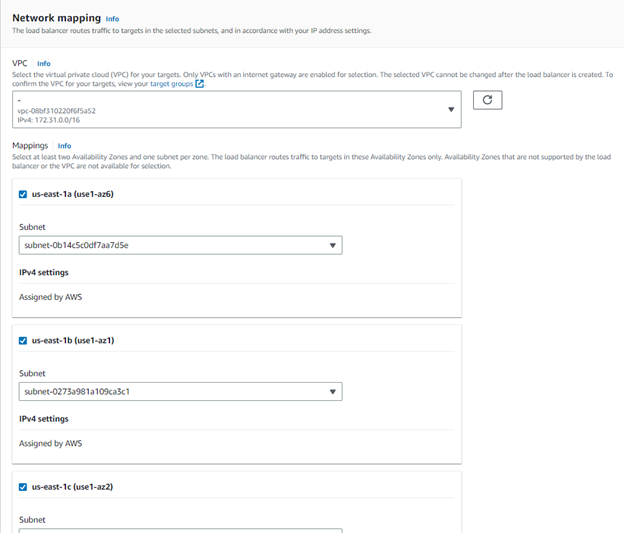
Choose at least two Availability Zone and one subnet per zone
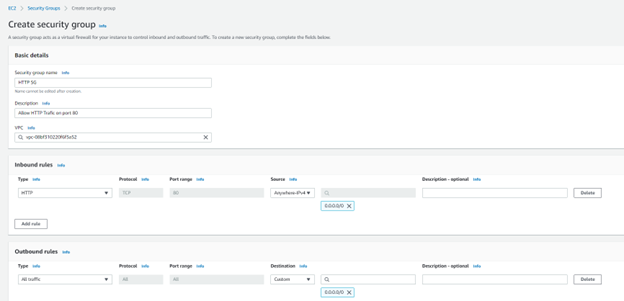
Create a new Security Group to allow only port 80
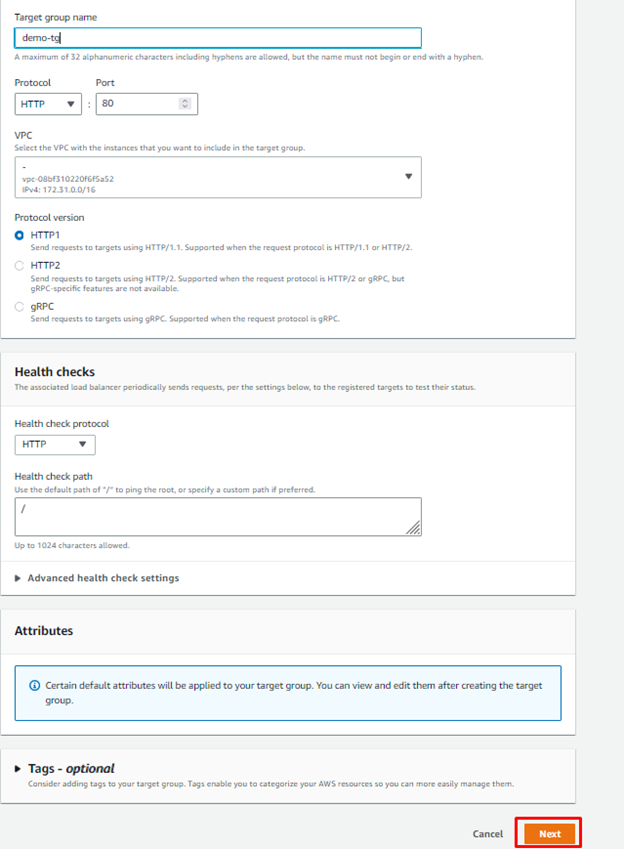
Create a target group / Click on Create target group

Enter the Target Group name / Protocol version and health checks
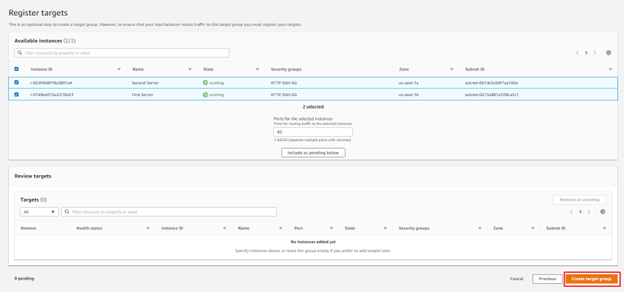
Choose Available instances to register the target instances / Click on Create target group
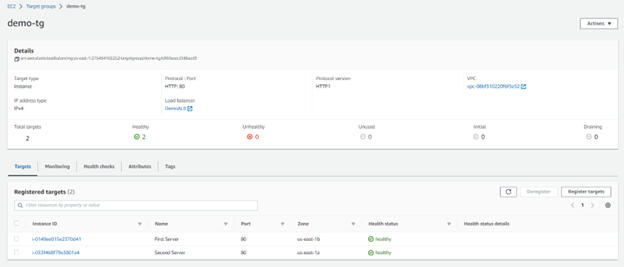
Confirm the creation of the Target group
Go back and choose the newly created Target Group

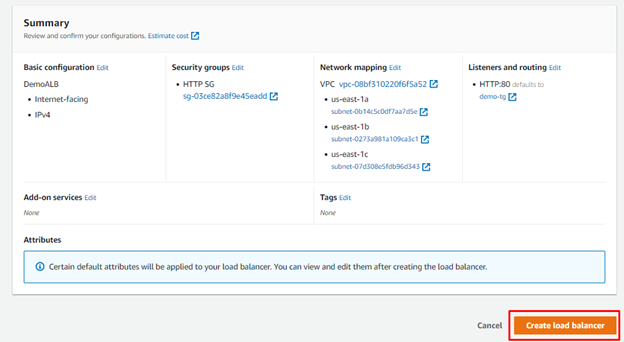
Validate the summary and click on Create load balancer
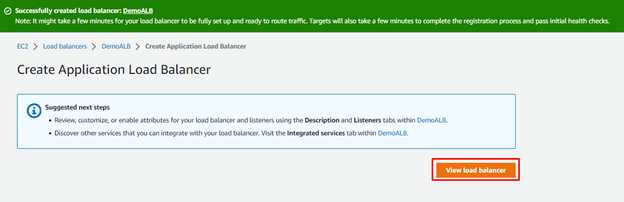
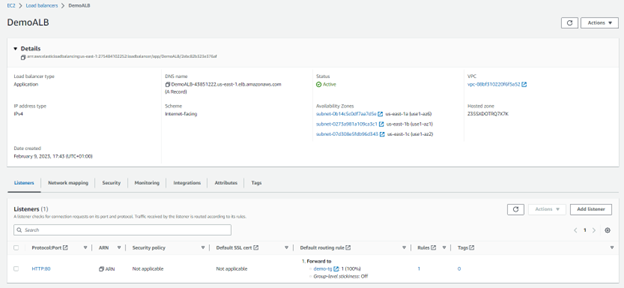
Confirm the creation of your load balancer
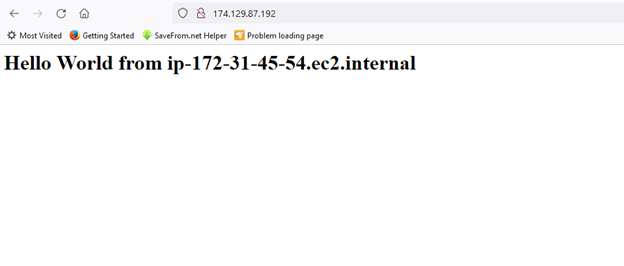
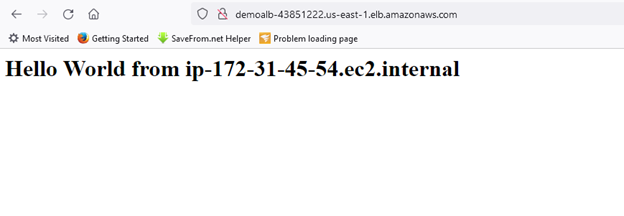
Copy the load balancer url in a web browser to confirm you have access to your web application
Stop one instance and validate you still have access to your web application

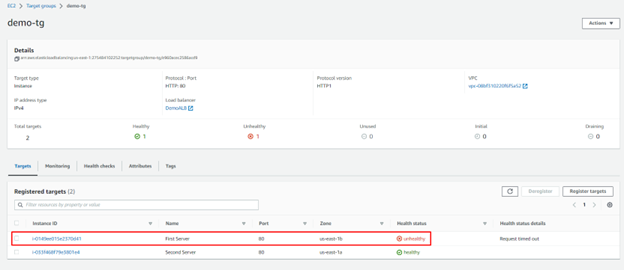
View the health status of your target group
Confirm you still have access to your web application via the URL of your load balancer

Credit: Stephane Maarek
Leave a Reply