In this Lab, you will work with branches by using Azure DevOps. You can manage your repo branches directly from the Azure DevOps portal, in addition to the functionality available in Visual Studio Code.
Task 1: Create a new branch
In this task, you will create a branch by using the Azure DevOps portal and use fetch it by using Visual Studio Code.
- Switch to the web browser displaying your Azure DevOps organization with the Version Controlling with Git in Azure Repos project you generated in the previous Lab.
Note: Alternatively, you can access the project page directly by navigating to the [https://dev.azure.com/<your-Azure-DevOps-account-name>/Version%20Controlling%20with%20Git%20in%20Azure%20Repos) URL, where the <your-Azure-DevOps-account-name> placeholder, represents your account name.
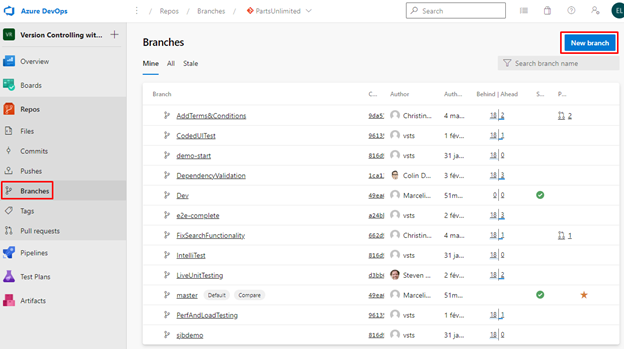
- In the web browser window, navigate to the Repos pane of the project and select Branches.
- On the Branches pane, click New branch.
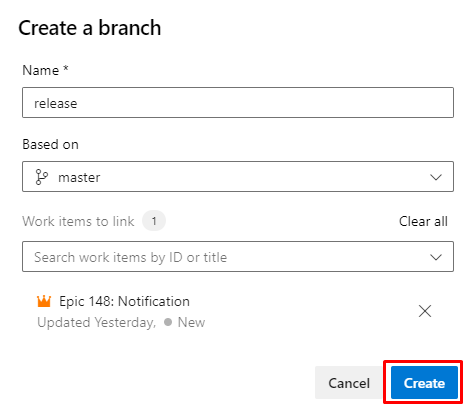
In the Create a branch panel, in the Name textbox, type release, ensure that master appears in the Based on dropdown list, in the Work items to link drop-down list, select one or more available work items, and click Create.
- Switch to the Visual Studio Code window.
- Press Ctrl+Shift+P to open the Command Palette.
- At the Command Palette prompt, start typing Git: Fetch and select Git: Fetch when it becomes visible. This command will update the origin branches in the local snapshot.
- In the lower left corner of the Visual Studio Code window, click the master entry again.
- In the list of branches, select origin/release. This will create a new local branch called release and check it out.

Task 2: Delete and restore a branch
In this task, you will use the Azure DevOps portal to delete and restore the branch you created in the previous task.
- Switch to the web browser displaying the Mine tab of the Branches pane in the Azure DevOps portal.
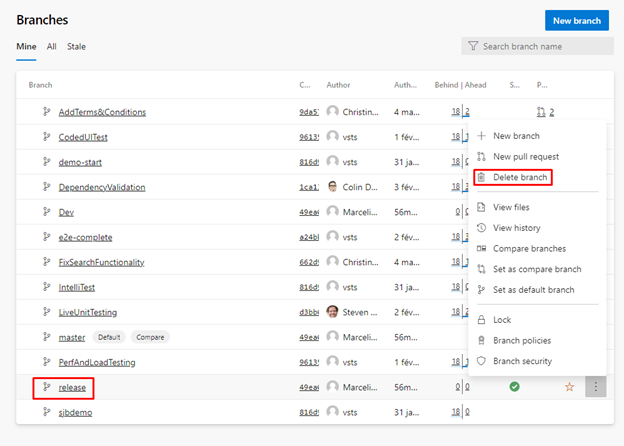
- On the Mine tab of the Branches pane, hover the mouse pointer over the release branch entry to reveal the ellipsis symbol on the right side.
- Click the ellipsis, in the pop-up menu, select Delete branch, and, when prompted for confirmation, click Delete.
- On the Mine tab of the Branches pane, select the All tab.
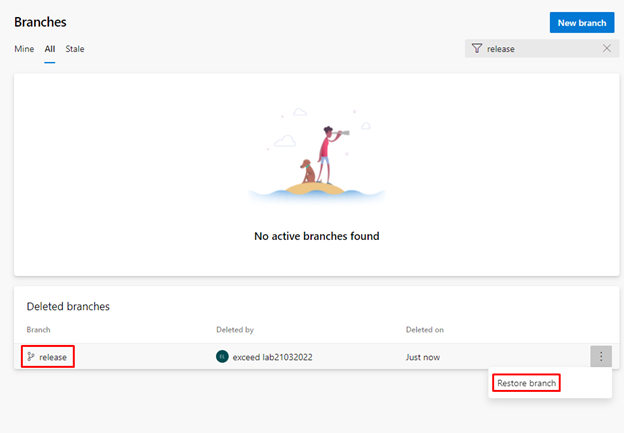
- On the All tab of the Branches pane, in the Search branch name text box, type release.
- Review the Deleted branches section containing the entry representing the newly deleted branch.
- In the Deleted branches section, hover the mouse pointer over the release branch entry to reveal the ellipsis symbol on the right side.
- Click the ellipsis, in the pop-up menu and select Restore branch.
Note: You can use this functionality to restore a deleted branch as long as you know its exact name.
Task 3: Lock and unlock a branch
In this task, you will use the Azure DevOps portal to lock and unlock the master branch.
Locking is ideal for preventing new changes that might conflict with an important merge or to place a branch into a read-only state. Alternatively, you can use branch policies and pull requests instead of locking if you just want to ensure that changes in a branch are reviewed before they are merged.
Locking does not prevent cloning of a repo or fetching updates made in the branch into your local repo. If you lock a branch, share with your team the reason for locking it and make sure they know what to do to work with the branch after it is unlocked.
- Switch to the web browser displaying the Mine tab of the Branches pane in the Azure DevOps portal.
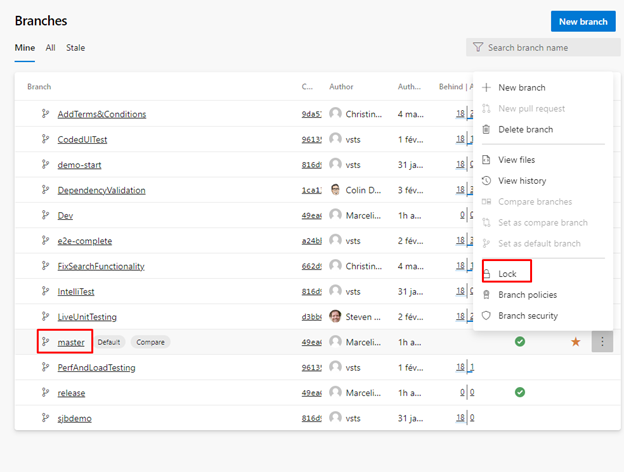
- On the Mine tab of the Branches pane, hover the mouse pointer over the master branch entry to reveal the ellipsis symbol on the right side.
- Click the ellipsis and, in the pop-up menu, select Lock.
- On the Mine tab of the Branches pane, hover the mouse pointer over the master branch entry to reveal the ellipsis symbol on the right side.
- Click the ellipsis and, in the pop-up menu, select Unlock.

Task 4: Tag a release
In this task, you will use the Azure DevOps portal to tag a release in the Azure DevOps Repos.
The product team has decided that the current version of the site should be released as v1.1.0-beta.
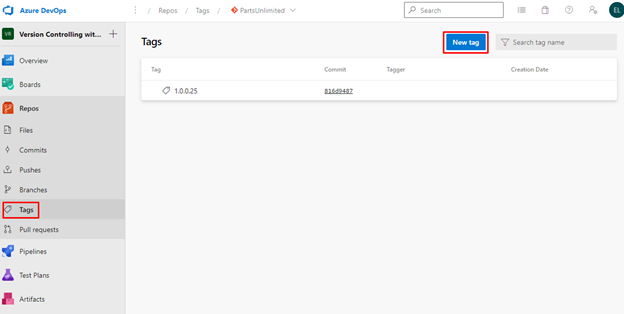
- In the vertical navigational pane of the of the Azure DevOps portal, in the Repos section, select Tags.
- In the Tags pane, click New tag.
In the Create a tag panel, in the Name text box, type v1.1.0-beta, in the Based on drop-down list leave the master entry selected, in the Description text box, type Beta release v1.1.0 and click Create.

Note: You have now tagged the project at this release. You could tag commits for a variety of reasons and Azure DevOps offers the flexibility to edit and delete them, as well as manage their permissions.
Lab 3: Manage repositories
In this Lab, you will use the Azure DevOps portal to create and delete a Git repository in Azure DevOps Repos.
You can create Git repos in team projects to manage your project’s source code. Each Git repo has its own set of permissions and branches to isolate itself from other work in your project.
Task 1: Create a new repo from Azure DevOps
In this task, you will use the Azure DevOps portal to create a Git repository in Azure DevOps Repos.
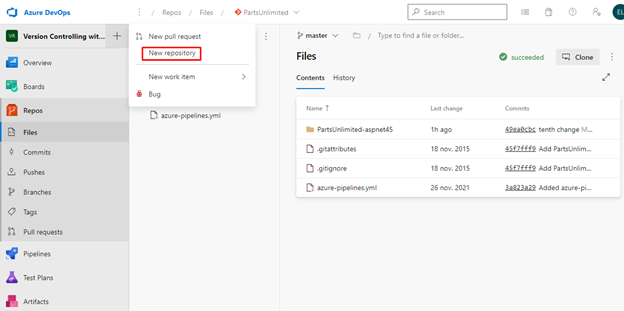
- In the web browser displaying the Azure DevOps portal, in the vertical navigational pane, click the plus sign in the upper left corner, directly to the right of the project name and, in the cascading menu, click New repository.
In the Create a repository pane, in the Repository type, leave the default Git entry, in the Repository name text box, type New Repo, leave other settings with their default values, and click Create.
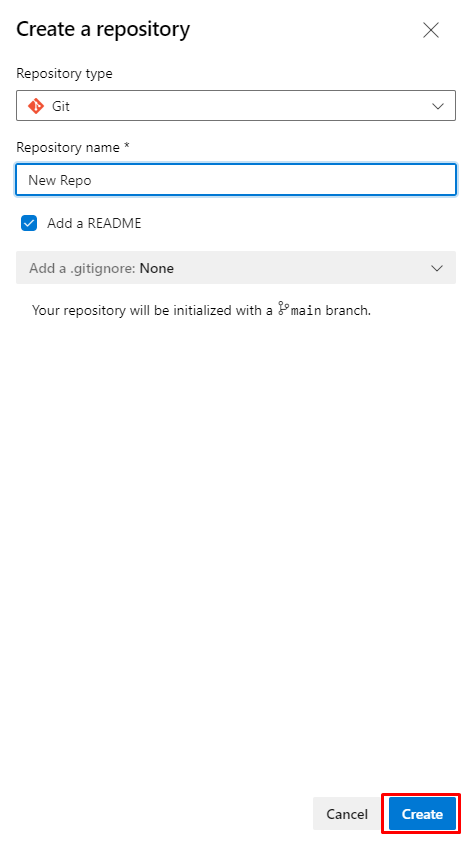
Note: You have the option to create a file named README.md. This would be the default markdown file that is rendered when someone navigates to the repo root with a web browser. Additionally, you can preconfigure the repo with a .gitignore file. This file specifies which files, based on naming pattern and/or path, to ignore from source control. There are multiple templates available that include the common patterns and paths to ignore based on the project type you are creating.
Note: At this point, your repo is available. You can now clone it with Visual Studio Code or any other git-compatible tool.
Task 2: Delete and rename Git repos
In this task, you will use the Azure DevOps portal to delete a Git repository in Azure DevOps Repos.
Sometimes you’ll have a need to rename or delete a repo, which is just as easy.
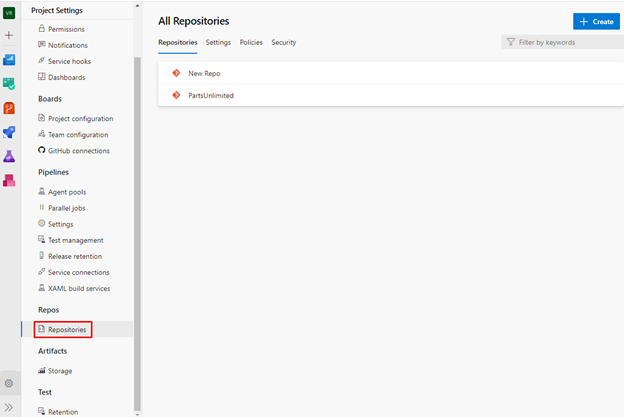
- In the web browser displaying the Azure DevOps portal, at the bottom of the vertical navigational pane, click Project settings.
- In the Project Settings vertical navigational pane, scroll down to the Repos section and click Repositories.
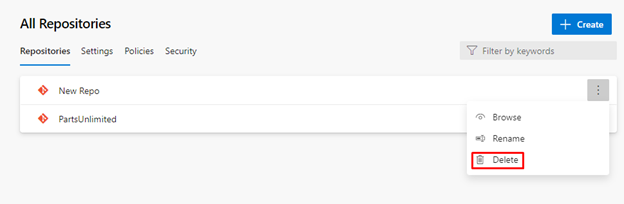
- On the Repositories tab of the All Repositories pane, hover the mouse pointer over the New Repo branch entry to reveal the ellipsis symbol on the right side.
- Click the ellipsis, in the pop-up menu, select Delete, in the Delete New Repo repository panel, type New Repo, and click Delete.
Review
In this lab, you used the Azure DevOps portal to manage branches and repositories.
Leave a Reply