In this lab, you will learn how to implement a GitHub Action workflow that deploys an Azure web app by using DevOps Starter.
After you complete this lab, you will be able to:
- Implement a GitHub Action workflow by using DevOps Starter
- Explain the basic characteristics of GitHub Action workflows
Review applications required for this lab
Identify the applications that you’ll use in this lab:
- Microsoft Edge
Prepare an Azure subscription
- Identify an existing Azure subscription or create a new one.
- Verify that you have a Microsoft account or an Azure AD account with the Contributor or the Owner role in the Azure subscription. For details, refer to List Azure role assignments using the Azure portal and View and assign administrator roles in Azure Active Directory.
Prepare a GitHub account
If you don’t already have a GitHub account that you can use for this lab, follow instructions available at Signing up for a new GitHub account to create one.
Exercise 1 : Create a DevOps Starter project
In this exercise, you will use DevOps Starter to facilitate provisioning of a number of resources, including:
- A GitHub repository hosting:
- Code of a sample .NET Core web site.
- Azure Resource Manager templates that deploy an Azure web app hosting the web site code.
- A workflow that builds, deploys, and tests the web site.
- An Azure web app, automatically deployed by using the GitHub workflow.
Task 1: Create DevOps Starter project
In this task, you will create an Azure DevOps Starter project that automatically sets up a GitHub repository, as well as creates and triggers a GitHub workflow that deploys an Azure web app, based on the content of the GitHub repository.
- From the lab computer, start a web browser, navigate to the Azure Portal, and sign in with the user account that has at least the Contributor role in the Azure subscription you are using in this lab.
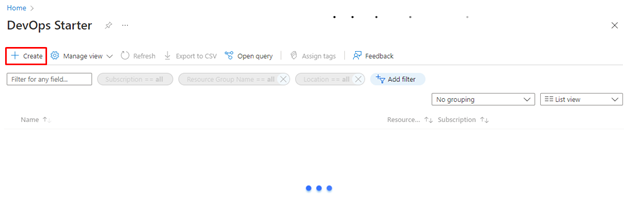
- In the Azure portal, search for and select the DevOps Starter resource type and, on the DevOps Starter blade, click either + Add, + New, or + Create.
On the Start fresh with a new application page of the DevOps Starter blade, click the here link in the Setting up DevOps starter with GitHub, click here text.
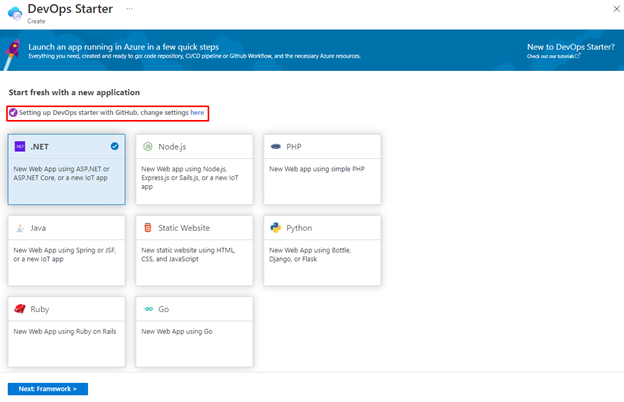
Note: This will display the DevOps starter settings blade.
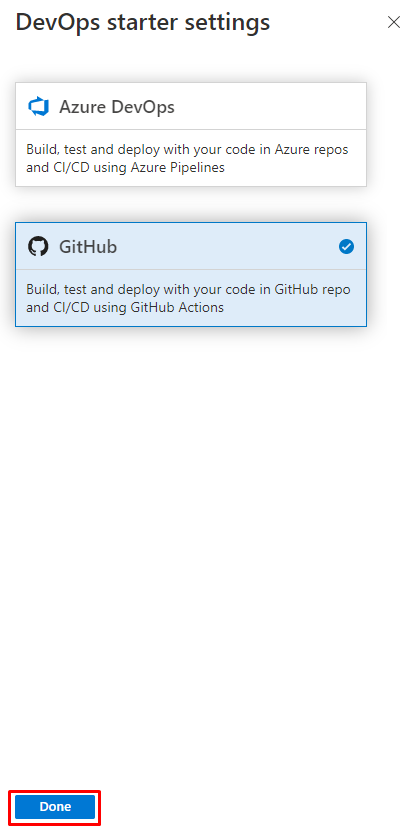
- On the DevOps starter settings blade, ensure that the GitHub tile is selected and click Done.
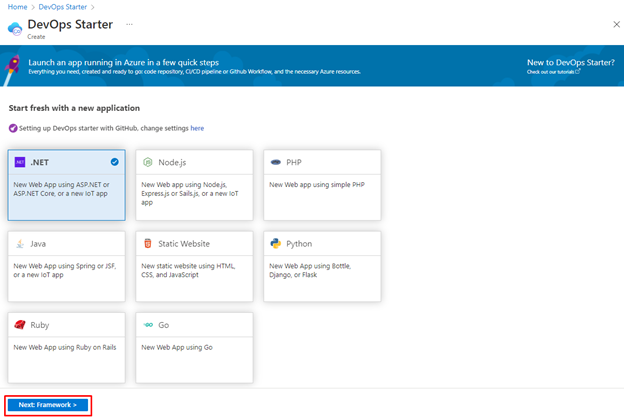
Back on the DevOps Starter blade, click Next: Framework >.
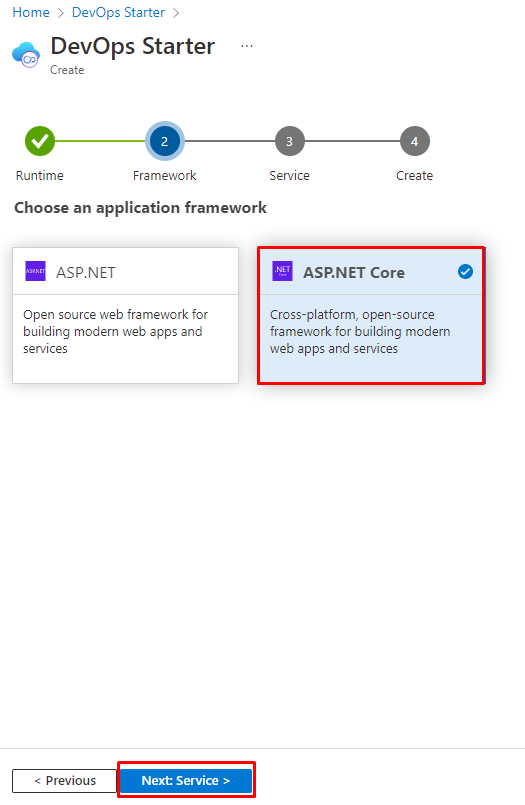
On the Choose an application framework page of the DevOps Starter blade, select the ASP.NET Core tile and click Next: Service >.
On the Select an Azure service to deploy the application page of the DevOps Starter blade, ensure that the Windows Web App tile is selected and click Next: Create >.

On the Select Repository and Subscription page of the DevOps Starter blade, click Authorize.
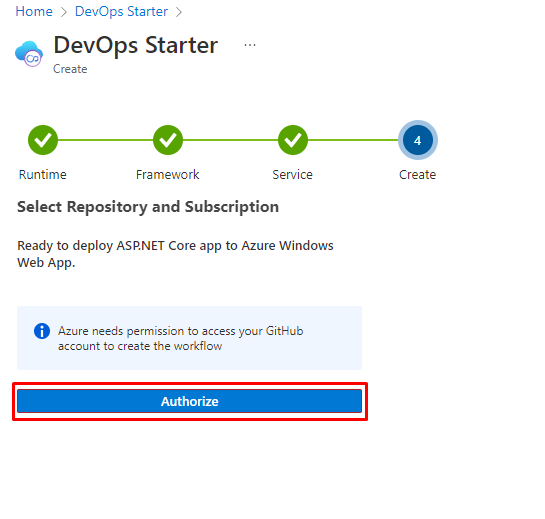
Note: This will display the Authorize Azure GitHub Actions pop-up web browser window.
- In the Authorize Azure GitHub Actions pop-up window, review the required permissions and click Authorize AzureGithubActions.
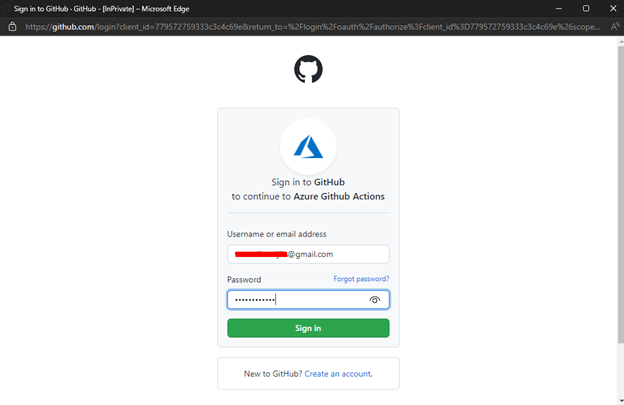
Note: This will redirect the web pop-up browser window to the Azure DevOps site, prompting you for your Azure DevOps information.
- When prompted, in the pop-up web browser window, click Continue.
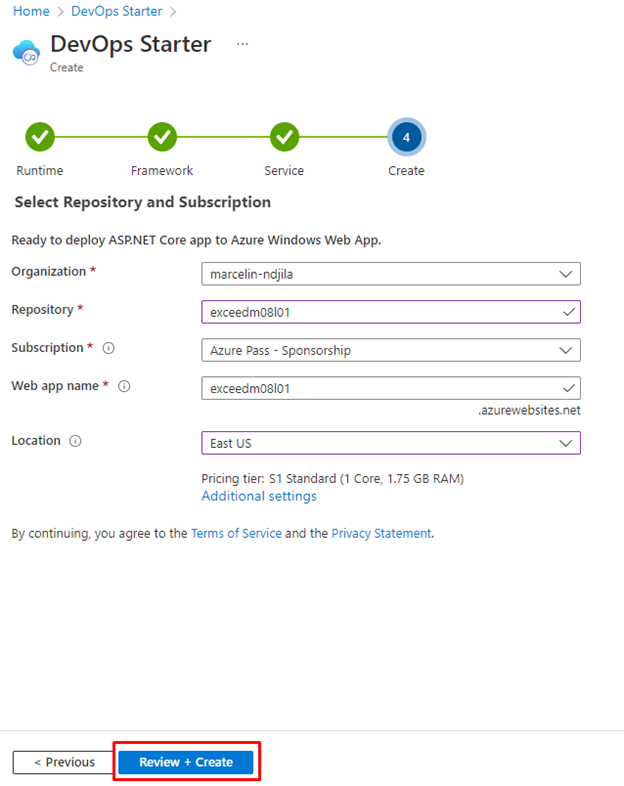
- Back on the Select Repository and Subscription page of the DevOps Starter blade, specify the following settings and click Review + Create:
| Setting | Value |
| Organization | the name of GitHub account |
| Repository | exceedm08l01 |
| Subscription | the name of the Azure subscription you are using for this lab |
| Web app name | any valid, globally unique host name in the azurewebsites.net DNS namespace |
| Location | the name of any Azure region in which you can provision an Azure web app |
- Note: Wait for the provisioning to complete. This should take about 1 minute.
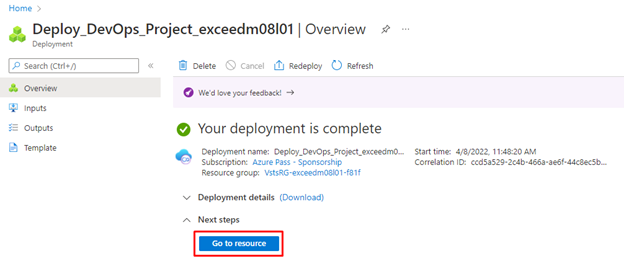
On the Deploy_DevOps_Project_exceedm08l01 | Overview blade, click Go to Resource.
On the exceedm08l01 blade, on the GitHub Workflow tile, click Authorize.
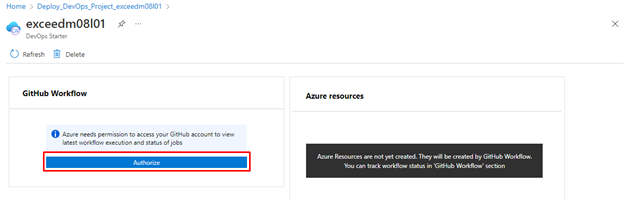
- On the GitHub Authorization blade, click Authorize again.
- Back on the exceedm08l01 blade, monitor the progress of actions on the GitHub Workflow tile.
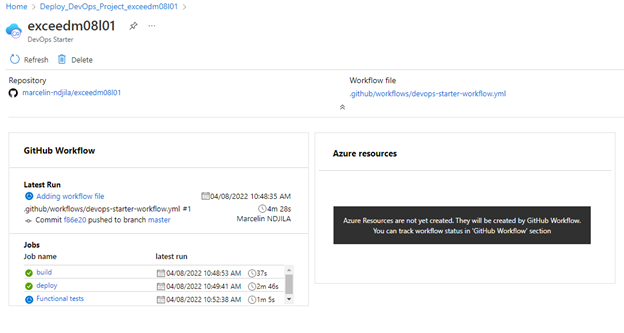
Note: Wait for the build, deployment, and functional tests jobs of the GitHub workflow to complete. This should take about 5 minutes.
Task 2: Review the results of creating the DevOps Starter project
In this task, you will review the results of creating the DevOps Starter project.
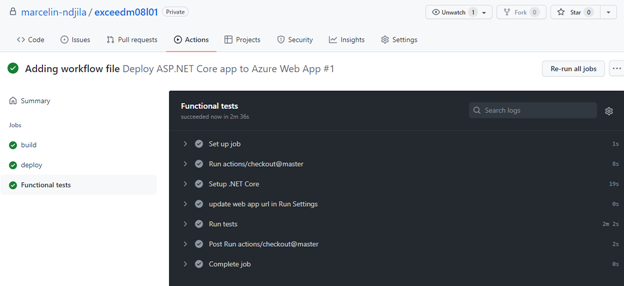
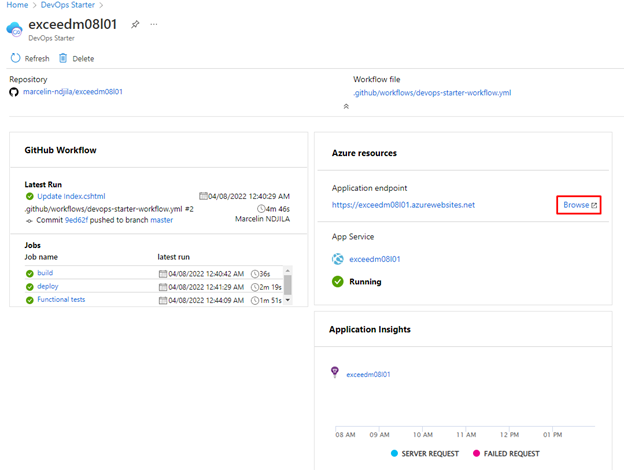
- In the web browser window displaying the Azure portal, on the exceedm08l01 blade, review the GitHub Workflow section and verify that the build, deploy, and Functional tests jobs completed successfully.
On the exceedm08l01 blade, review the Azure resources section and verify that they include an App Service web app instance and the corresponding Application Insights resource.
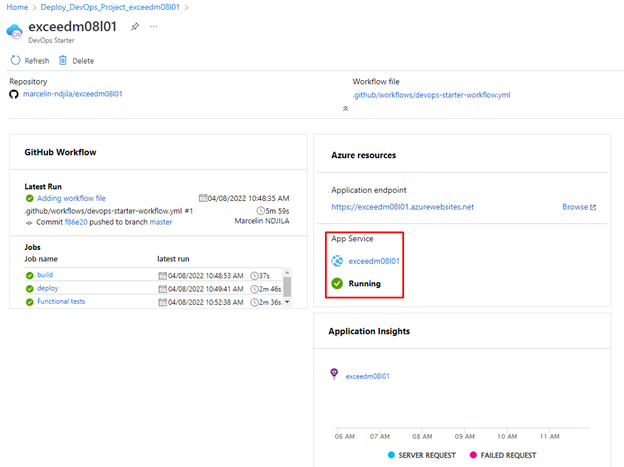
At the top of the exceedm08l01 blade, note the link to the Workflow file and the GitHub repository you created in the previous task.

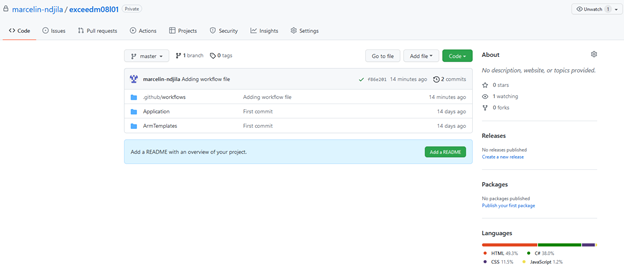
- At the top of the exceedm08l01 blade, click the link to the GitHub repository.
- On the GitHub repository page, note the three folders labeled:
- .github\workflows – containing the YAML-formatted workflow file
- Application – containing the code of the sample web site
- ArmTemplates – containing the Azure Resource Manager templates that the workflow uses to provision Azure resources
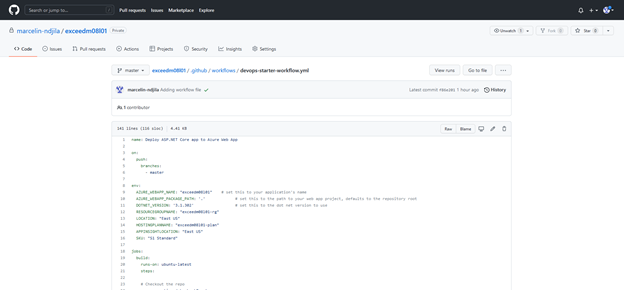
- On the GitHub repository page, click .github/workflows and then, click the devops-starter-workflow.yml entry.
- On the GitHub repository page displaying the content of the devops-starter-workflow.yml, review its content and note that it contains the build, deploy, and Functional tests job definitions.
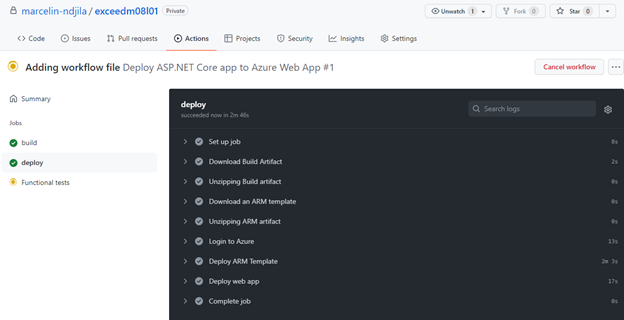
- On the GitHub repository page, in the toolbar, click Actions.
- On the GitHub repository page, on the Actions tab, in the All workflows section, click the entry representing the most recent workflow run.
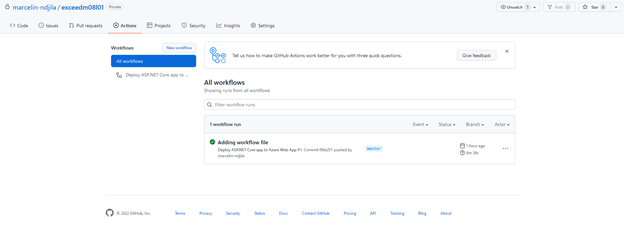
On the workflow run page, review the workflow status, as well as the listing of Annotations and Artifacts.

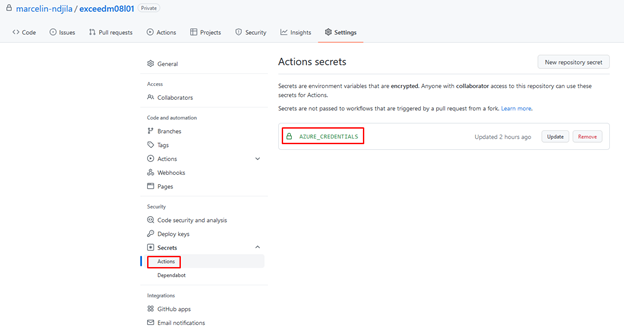
- On the GitHub repository page, in the toolbar, click Settings and, on the Settings tab, click Secrets.
- On the Action secrets pane, note the AZURE_CREDENTIALS entry, representing the credentials necessary to access the target Azure subscription.
- Navigate to the exceedm08l01/Application/aspnet-core-dotnet-core/Pages/Index.cshtml GitHub repository page and, in the upper right corner, click the pencil icon to switch to the edit mode.
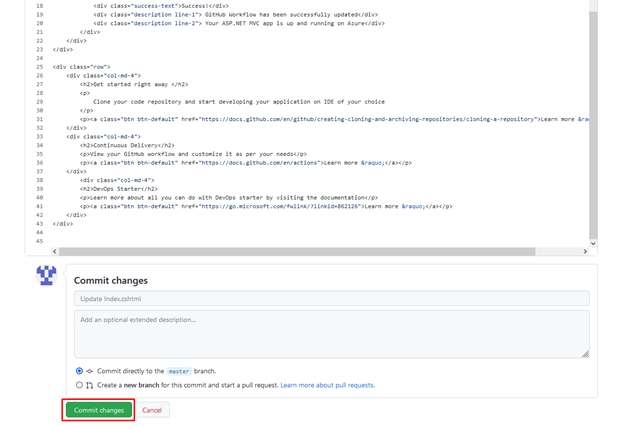
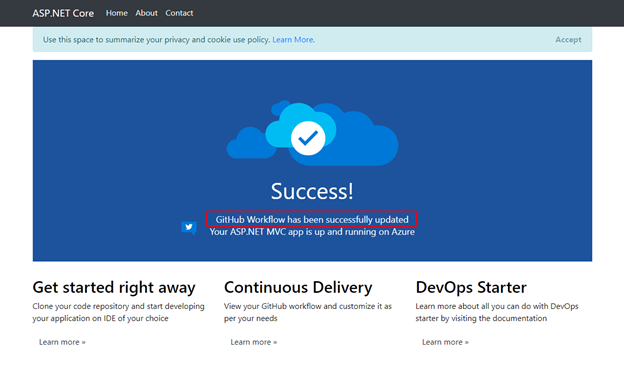
- Change the line 19 to <div class=”description line-1″> GitHub Workflow has been successfully updated</div>.
- Scroll down to the bottom of the page and click Commit changes.
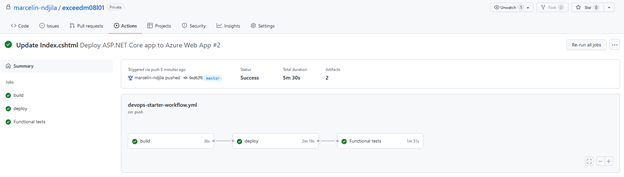
- On the GitHub repository page, in the toolbar, click Actions.
- In the All workflows section, click the Update Index.cshtml entry.
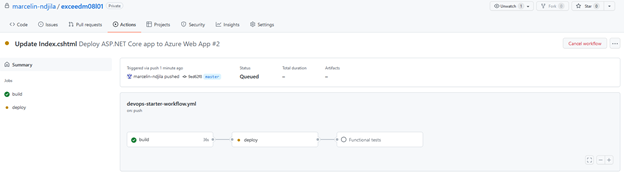
In the devops-starter-workflow.yml section, monitor the progress of deployment and verify that it completed successfully.
Note: If the action using “azure/CLI@1” fails, commit the following change to the devops-starter-workflow.yml file (change the default azure cli version) and verify it completes successfully: “`
- name: Deploy ARM Template uses: azure/CLI@v1 continue-on-error: false with: azcliversion: 2.29.2 inlineScript: | az group create –name “$” –location “$” az deployment group create –resource-group “$” –template-file ./ArmTemplates/windows-webapp- template.json –parameters webAppName=”$” hostingPlanName=”$” appInsightsLocation=”$” sku=”$” “`
- Switch to the browser window displaying the DevOps Starter blade in the Azure portal and click the Browse link next to the Application endpoint entry.
- In the newly opened web browser window, verify that the updated text representing the change you committed in the GitHub repo is displayed on the web app home page.
Review
In this lab, you implemented a GitHub Action workflow that deploys an Azure web app by using DevOps Starter.
Reminder: Don’t forget to delete or shutdown all unused Azure resources after your labs for cost saving
Leave a Reply