Restricting access is imperative for organizations that want to enforce security policies for data access. You can use Azure role-based access control (Azure RBAC) to assign permissions to users, groups, and applications at a certain scope, such as the need to know and least privilege security principles. To learn more about granting users access to applications
This labs are a replay of exercises done during my AZ-204 Developing Solutions for Microsoft Azure course and are intended to help you secure your PaaS with Azure role-based access control.
Prerequisites for this labs : Azure Account
Create an Azure web app
- Sign in to the Azure portal
- Create a new resource group rg-exceed07112021
- In the rg-exceed07112021 resource group, create a web app named wa-exceed0712021.
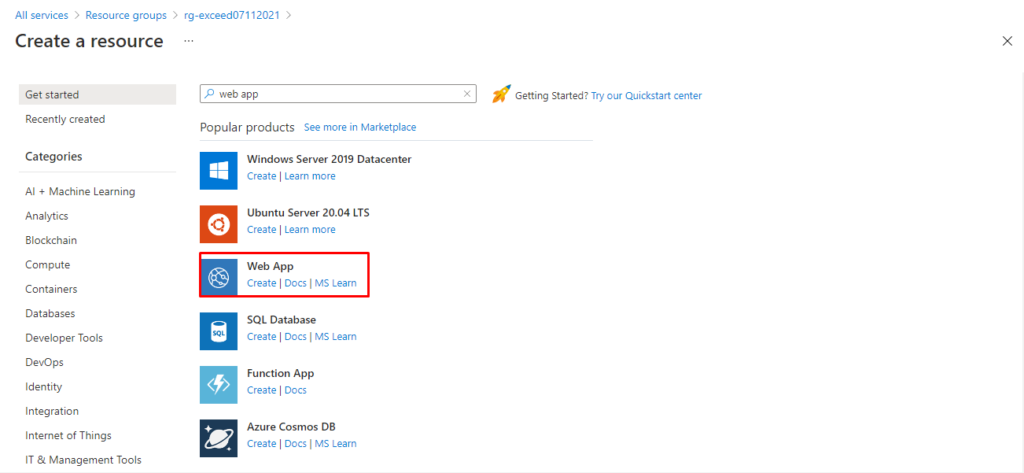
Create a new App Service plan named AppPlan1 that uses the S1 pricing tier.
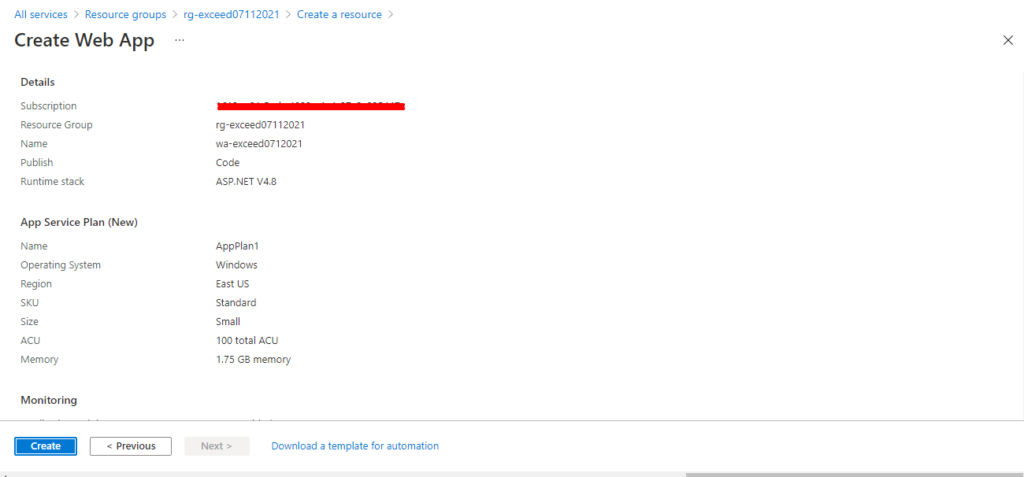
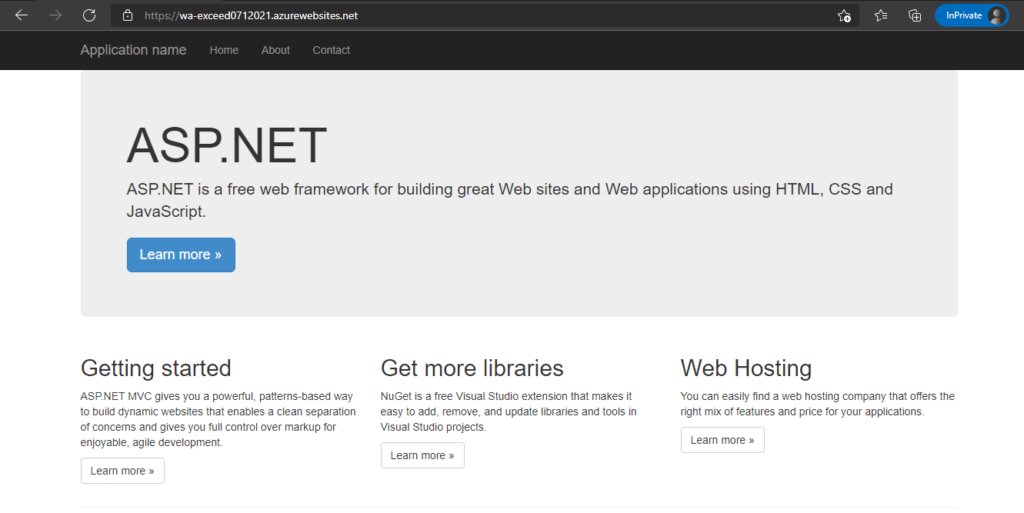
Go to the URL for the new web app to verify that it’s up and running.
Deploy code from a public GitHub repository
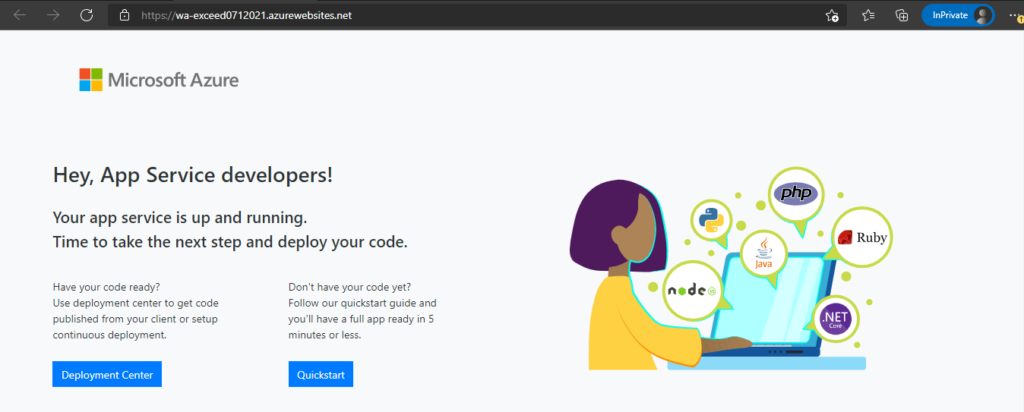
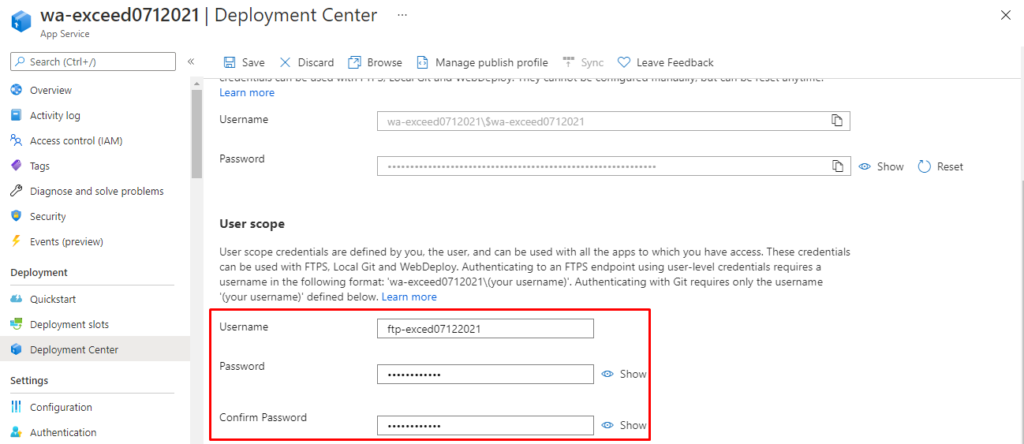
- On the web app’s Deployment Center blade, create User credentials for FTP with the username ftp-exced07122021.
Click on Deployment Center / FTPS credentials
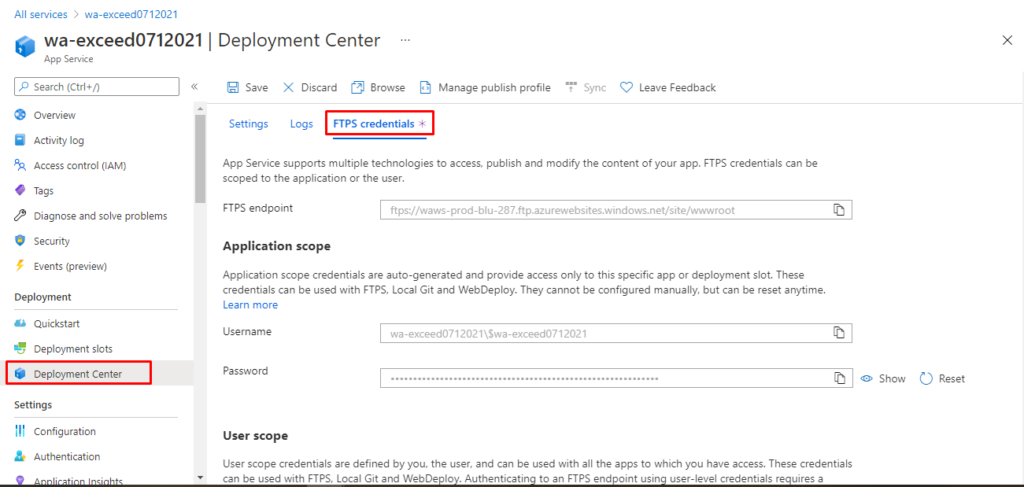
Fill the user scope
Click Settings
Source / External Git
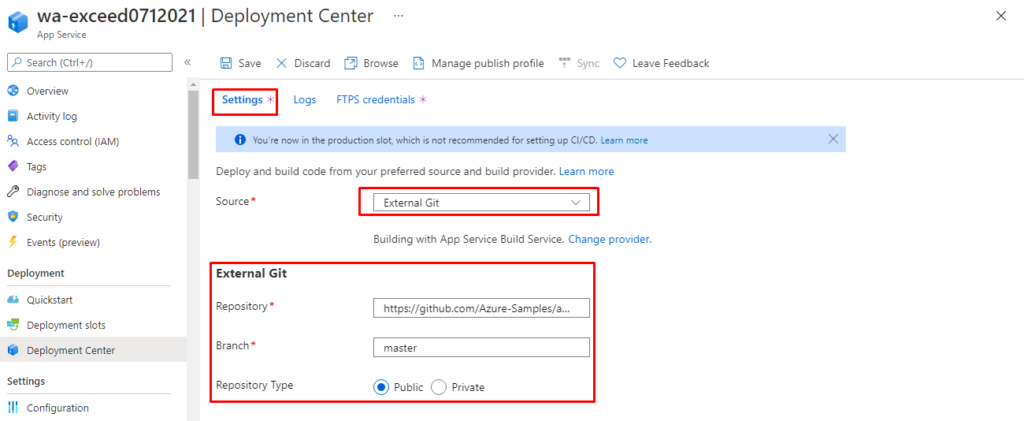
Click on Save
- On the Deployment Center blade, configure an External repository source by using the App Services Kudu build server that contains a GIT repository located at https://github.com/Azure-Samples/app-service-web-dotnet-get-started. Use the master branch.
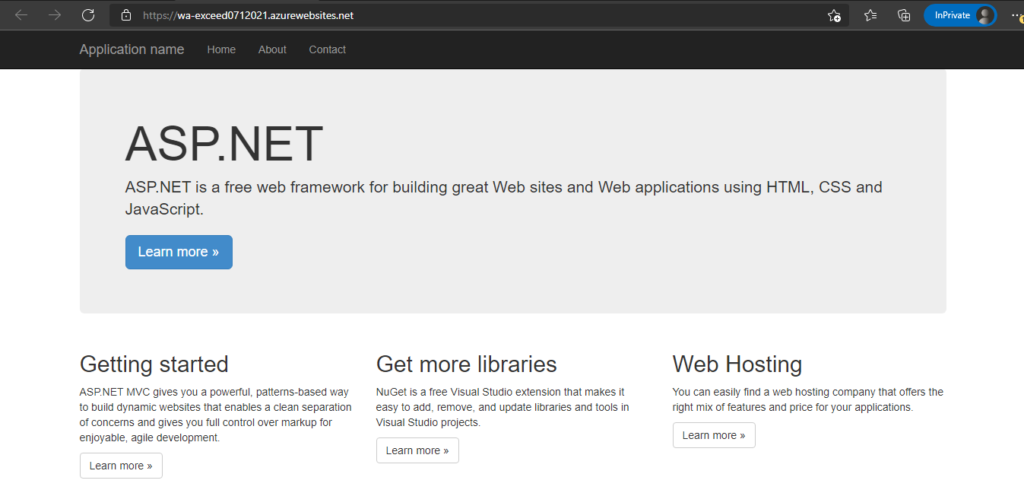
- Test the web app in a browser by using the URL of the new web app and anonymous access.
Modify and test App Service security
- In the Azure portal, enable App Service Authentication by using Azure Active Directory authentication. Make sure that all connections are forced to authenticate through AAD.
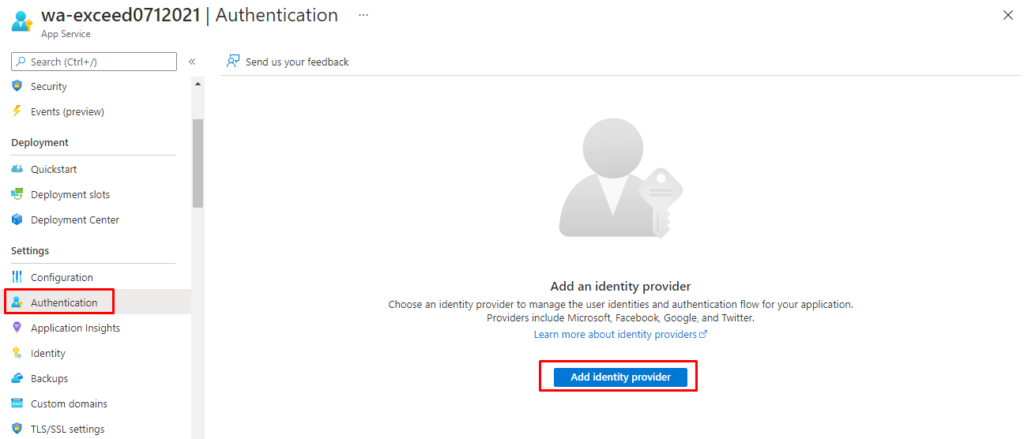
Create a new app registration

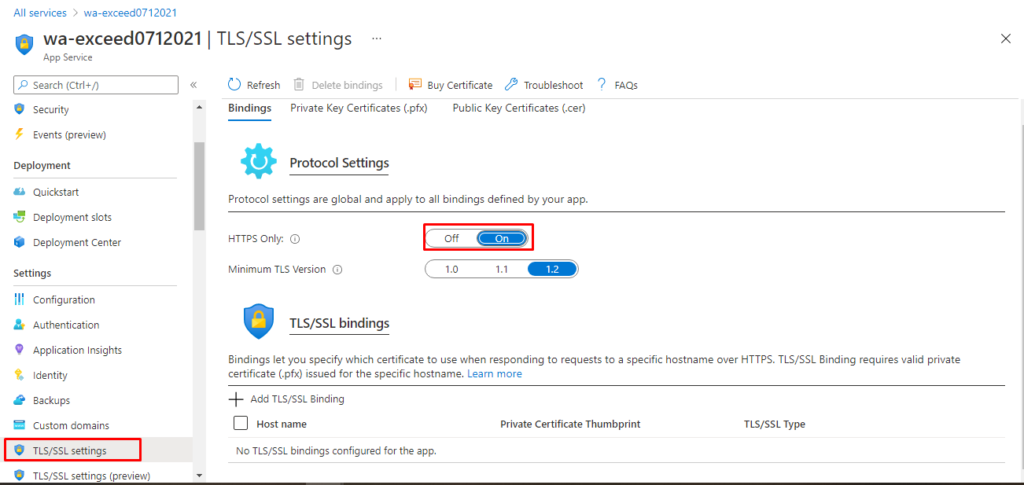
Under SSL Settings, make sure HTTPS Only is set to On to enforce network encryption.
Use Role Based Access Control (RBAC) to allow a user User1-exceed07112021@exceedlab10152021outlook.onmicrosoft.com to access the application by adding a role assignment for the user to the role Managed Application reader.
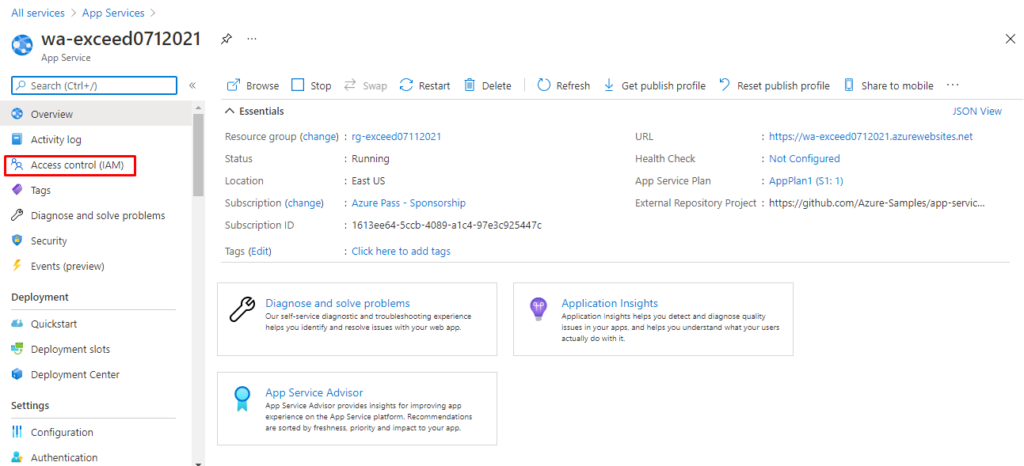
Add a Role Assignment for your user

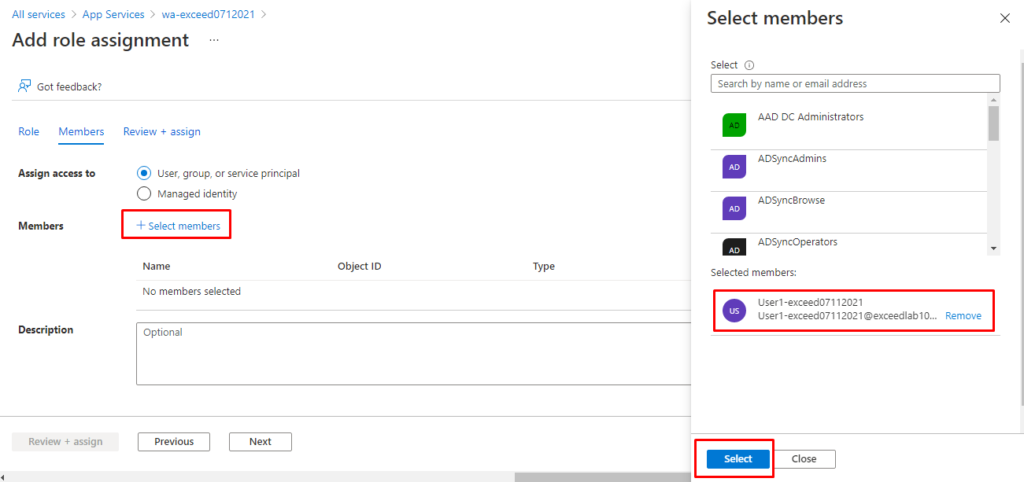
Add Managed Application Reader / Role assignment

Select members / Add your Users in our case (User1-exceed07112021@exceedlab10152021outlook.onmicrosoft.com)
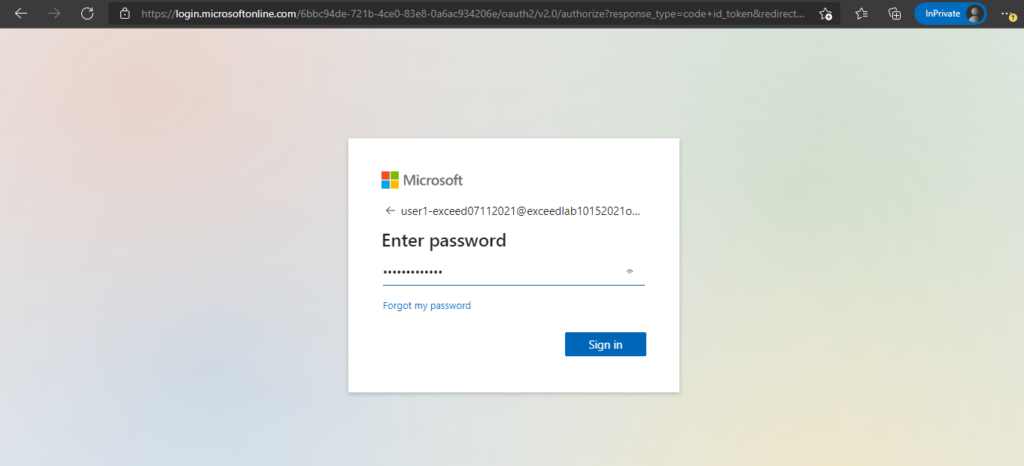
Test the modifications in a browser in a new InPrivate window by using the URL of the web app showing authentication that uses the Azure Active Directory user account User1-exceed07112021@exceedlab10152021outlook.onmicrosoft.com and password ####Your password####. Accept the Permissions requested when prompted.
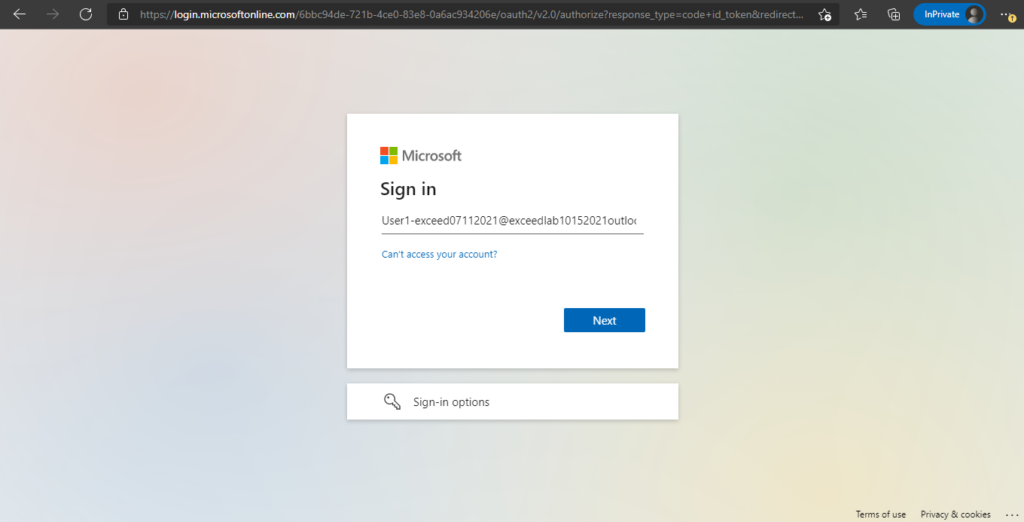
Enter password
Summary
Congratulations, you have completed the Implement Azure PaaS Security lab
- Created an Azure web app.
- Deployed code from a public GitHub repository.
- Modified and tested the web app for authentication by using an Azure Active Directory account.
Reminder: Don’t forget to delete or shutdown all unused Azure resources after your labs for cost saving
Leave a Reply